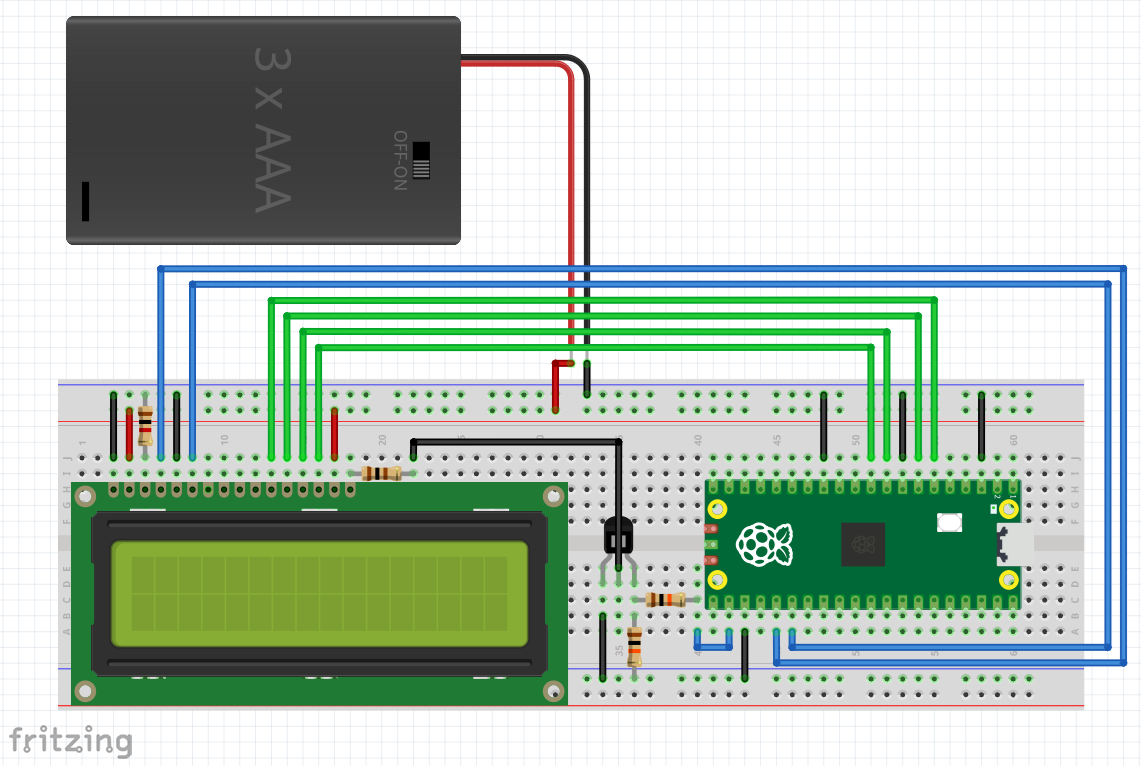
LCD をデバッグモニター用に使うのに
便利そうな関数を作ってみました
まずは基本の文字列表示です
RS ピンを 1 (RS_DATA) にしてデータを書き込むと、文字が表示されます
本当はカーソルの X 座標を記憶しておいて、文字列の長さを含めて16文字と比較して
長すぎる場合は処理しないといけないのでしょうが
今回は手抜きしています
def lcd_textout(out_string):
    pin_RS.value(RS_DATA)
    for c in out_string:
        lcd_write_8bit(ord(c))
つぎに表示位置指定
指定しない場合、前回表示の次の場所にカーソルが移動します
表示位置指定のコマンドは 0x80 で
これに 1行目の場合は X 座標を
2行目の場合は X 座標 + 0x40 を加えます
1602 は 16文字 x 2列ですが
さらに大きな LCD でもコマンドが共用されているため
2行目は 40(16) = 64(10) という大きな数を足すようです
def lcd_locate(x, y):
    if x < 0: x = 0
    if x > 15: x = 15
    if y < 0: y = 0
    if y > 1: y = 1
    addr = 0x80 + x + y * 0x40
    pin_RS.value(RS_COMMAND)
    lcd_write_8bit(addr)
lcd_locate() を使って
位置を指定した文字列表示と左寄せ、右寄せを作りました
左寄せ、右寄せの関数では文字列の長さチェックを入れました
def lcd_textout_xy(out_string, x, y):
    lcd_locate(x, y)
    lcd_textout(out_string)

def lcd_textout_left(out_string, y):
    str_len = len(out_string)
    if str_len > 16:
        out_string = out_string[:16]
    lcd_textout_xy(out_string, 0, y)

def lcd_textout_right(out_string, y):
    str_len = len(out_string)
    if str_len > 16:
        out_string = out_string[:16]
        lcd_textout_xy(out_string, 0, y)
    else:
        lcd_textout_xy(out_string, 16 - str_len, y)
最後に左寄せと右寄せを同時に行う関数です
これで項目名と数値の表示を行えば
簡単な printf デバッグに使えそうです
def lcd_textout_both(left_string, right_string, y):
    lcd_textout_left(left_string, y)
    lcd_textout_right(right_string, y)
LCD の使い方の基本はここまで
次回から I2C を使って LCD に文字列表示を行います
コメント